How to Apply Paver Sealer: A Comprehensive Guide
Introduction
When it comes to maintaining the beauty and longevity of your outdoor pavers, applying a paver sealer is a crucial step. Paver sealers not only enhance the appearance of your pavers but also protect them from various weather conditions, stains, and wear-and-tear. In this guide, we’ll walk you through the process of applying a paver sealer effectively, ensuring your outdoor space remains stunning for years to come.
Understanding the Importance of Paver Sealer
Paver sealers act as a protective barrier against external elements, including rain, UV rays, and foot traffic. They prevent water from seeping into the pavers, which can lead to cracks and erosion over time. Additionally, sealers enhance the color of the pavers, giving them a vibrant and polished look.
Types of Paver Sealers
There are two main types of paver sealers: penetrating sealers and film-forming sealers. Penetrating sealers are absorbed into the pavers, providing protection without altering their appearance. Film-forming sealers create a protective layer on the surface, giving the pavers a glossy finish.

Selecting the Right Paver Sealer:
Choosing the appropriate paver sealer is crucial for achieving the desired results. Consider the following factors:
- Paver Type: Different paver materials like concrete, brick, or natural stone may require specific sealers.
- Finish: Decide whether you want a matte, semi-gloss, or high-gloss finish.
- Protection: Look for a sealer that offers protection against UV rays, water, and stains.
- Breathability: Opt for a breathable sealer that prevents trapping moisture.
Preparing for the Project: Gathering Your Tools and Materials
Before you embark on the journey of applying paver sealer, it’s crucial to gather all the necessary tools and materials. Here’s a list to get you started:
- Paver Sealer: Choose a sealer that suits your paver type and desired finish – whether matte or glossy.
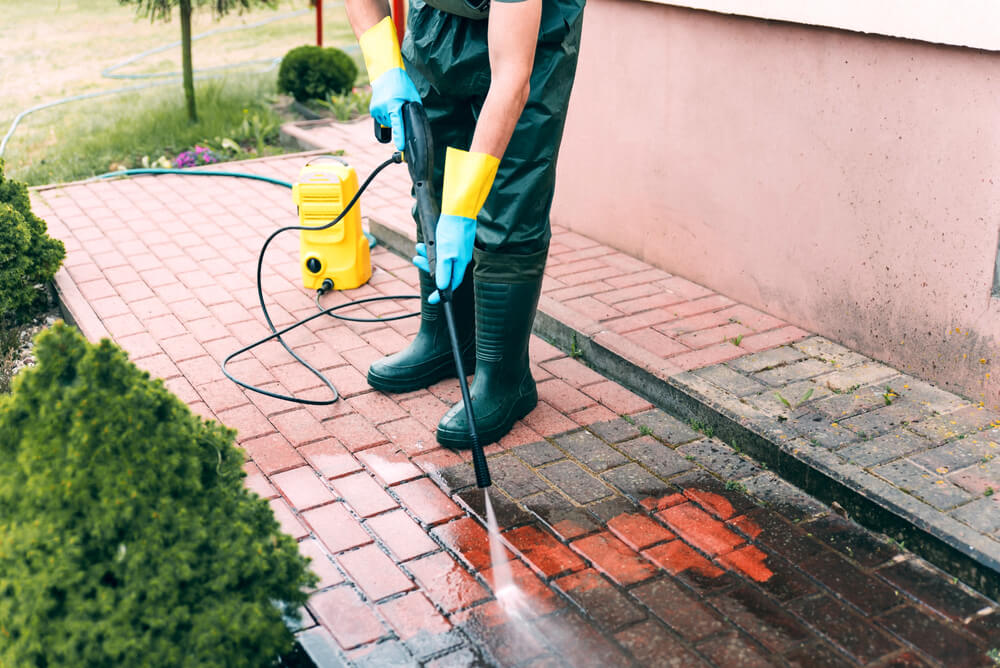
- Pressure Washer: Clean the pavers thoroughly to remove dirt, debris, and any old sealer.
- Paver Cleaner: Use a specialized cleaner to ensure a pristine surface for the sealer to adhere to.
- Applicator: Opt for a roller, sprayer, or brush, depending on the sealer and the surface area.
- Painter’s Tape: Protect adjacent surfaces like walls or landscaping.
- Safety Gear: Wear gloves, goggles, and a mask to protect yourself during the process.
Pressure Washing vs Power Washing: Which Cleans Better ?
Preparing the Pavers
- Start by cleaning the pavers thoroughly. Sweep away debris, dirt, and weeds.
- Use a pressure washer to remove any stubborn stains or contaminants.
- Allow the pavers to dry completely before applying the sealer.
Applying the Paver Sealer Step by Step
Cleaning the Surface
Clean the surface once more to ensure there’s no leftover dirt or debris that could affect the sealer’s adhesion.
Applying the First Coat
- Begin with a small test area. Apply the sealer to a small section to observe how it interacts with the pavers.
- Stir the sealer thoroughly. Use a stirring stick to ensure an even consistency.
- Start applying the sealer. Use an applicator to spread the sealer evenly across the pavers. Work in small sections for better control.
Waiting Period
Allow the sealer to penetrate the pavers for the recommended time mentioned on the product label. This usually takes a few minutes to an hour, depending on the sealer type.
Applying the Second Coat (If Required)
Some paver sealers might require a second coat for optimal protection and appearance. Follow the same steps as applying the first coat, ensuring even coverage.
Ensuring Even Application
While applying the sealer, ensure you maintain a consistent and even application. Avoid over-applying, as it can lead to a cloudy or tacky finish.
Drying and Curing Process
After applying the sealer, allow the pavers to dry for at least 24 hours before walking or placing furniture on them. Full curing may take a few days.
Post-Sealing Care Tips
- Regular cleaning: Sweep the pavers regularly to prevent dirt buildup.
- Avoid harsh chemicals: Use mild cleaners to avoid damaging the sealer.
- Reapplication: Depending on the foot traffic and weather conditions, you might need to reapply the sealer every 1-3 years.
Common Mistakes to Avoid
- Applying in direct sunlight: Sealer can dry too quickly and lead to an uneven finish.
- Over-application: Excess sealer can result in a hazy appearance.
- Not cleaning properly: Failing to clean the pavers adequately before sealing can trap dirt and stains.
Need professional cleaning and sealing services
If you’re in Tampa and looking to revitalize your outdoor space, look no further! Discover the ultimate paver cleaning and sealing services at ArrivalServ. Our expert team is dedicated to bringing new life to your pavers, ensuring they stand the test of time against the Florida weather. Say goodbye to stains and wear – schedule your appointment today and experience the transformation firsthand!
Conclusion
Applying a paver sealer is a straightforward process that can significantly enhance the beauty and durability of your outdoor pavers. By following the steps outlined in this guide, you can ensure that your pavers remain in top condition for years to come.
FAQs About Applying Paver Sealer
-
- How often should I reapply the paver sealer?
- Reapplication every 1-3 years is generally recommended, but it depends on factors like foot traffic and weather conditions.
- Can I apply the sealer in cold weather?
- It’s best to apply the sealer in temperatures above 50°F (10°C) and when rain isn’t expected for 24 hours.
- Can I use a sprayer to apply the sealer?
- Yes, a sprayer can be used, but ensure even application to avoid over-application.
- Is one coat of sealer enough?
- While some sealers provide sufficient protection with one coat, a second coat might enhance durability and appearance.
- Can I apply a paver sealer over an existing sealer?
- It’s generally recommended to remove the old sealer before applying a new one for the best results.


